

In this guide we will explain step by step everything you must do to change the line spacing of your Word documents.
Do you want your texts to look much more professional? If your answer is “yes” , you should take a look at the line spacing settings that Microsoft Word offers. This simple but powerful tool tends to go unnoticed by most people who use this text editor.
Using it correctly, not only can you obtain aesthetically more beautiful documents , but it also makes reading them much easier. In other words, it is a tool that should be used in all documents created in Word.
If you have never changed the line spacing of a file in Word, either because you don’t know how to do it, or because you can’t find the function within the app in question, let us tell you that you are in the right place. If you continue reading our article, you will not only learn how to change the line spacing , you will also discover how to adjust it in a custom way .
So you can change the line spacing of your Word file
Present in all the versions of Word that Microsoft has brought to the market, the function that allows you to change the line spacing can be found simply and quickly.
So that you do not waste time looking for this Word trick on the Internet, below we leave you step by step what you should do:
do:
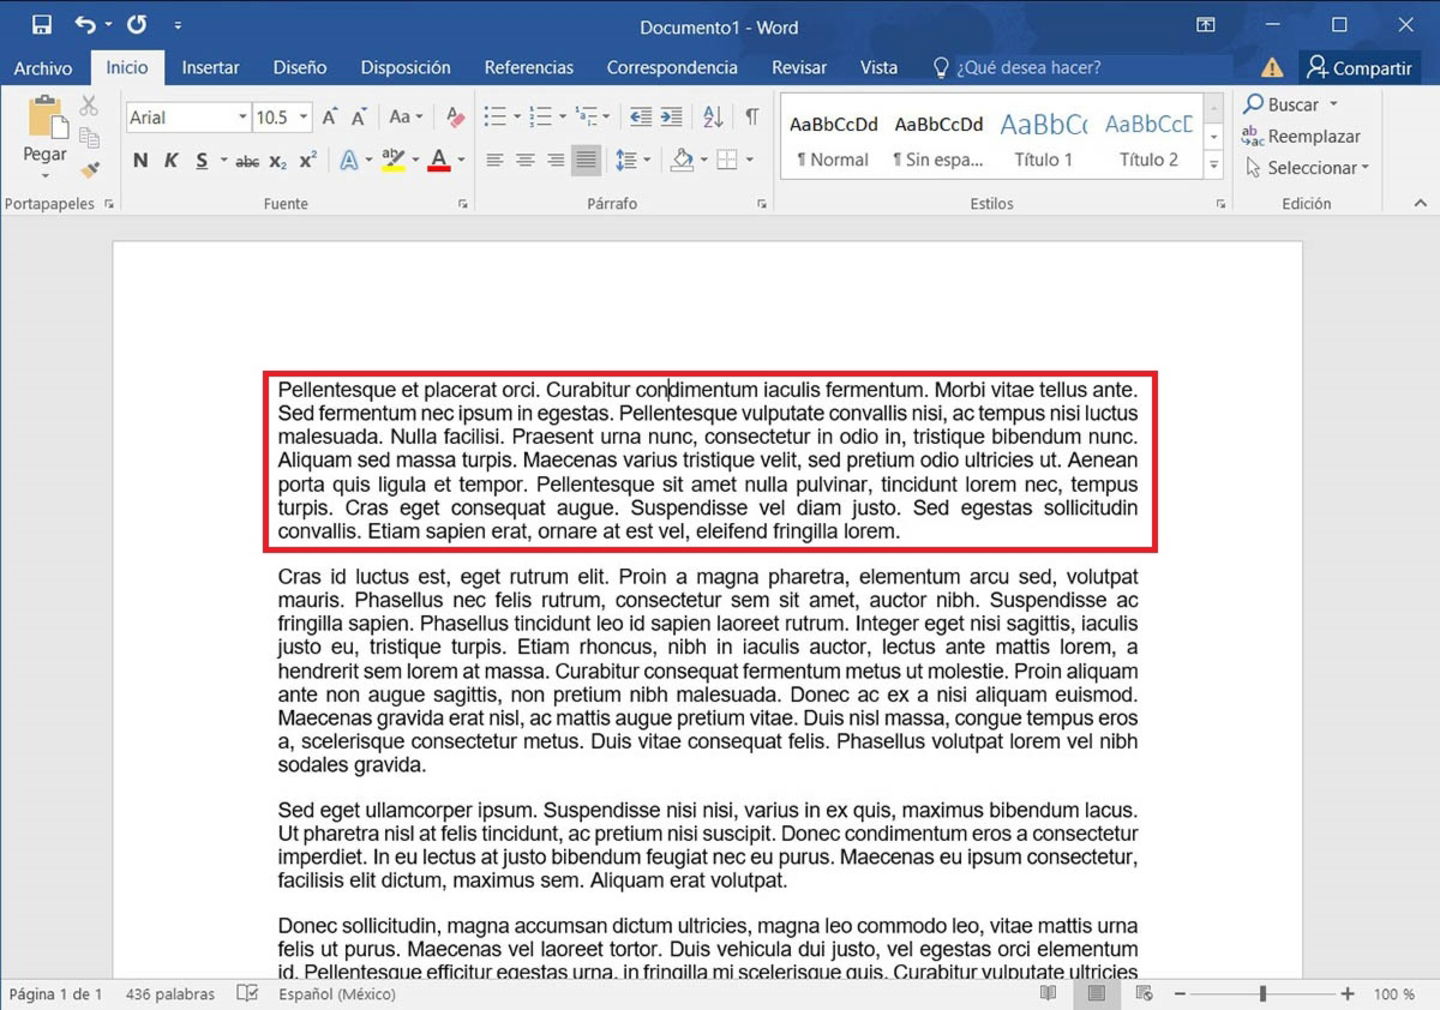
You have to select the paragraph or paragraphs where you want to change the line spacing.
- The first thing you will have to do is open the Word document in which you want to change the line spacing. Once inside it, you must select the paragraph or paragraphs where you want to modify the default line spacing.

It is practically mandatory to change the line spacing of a Word document.
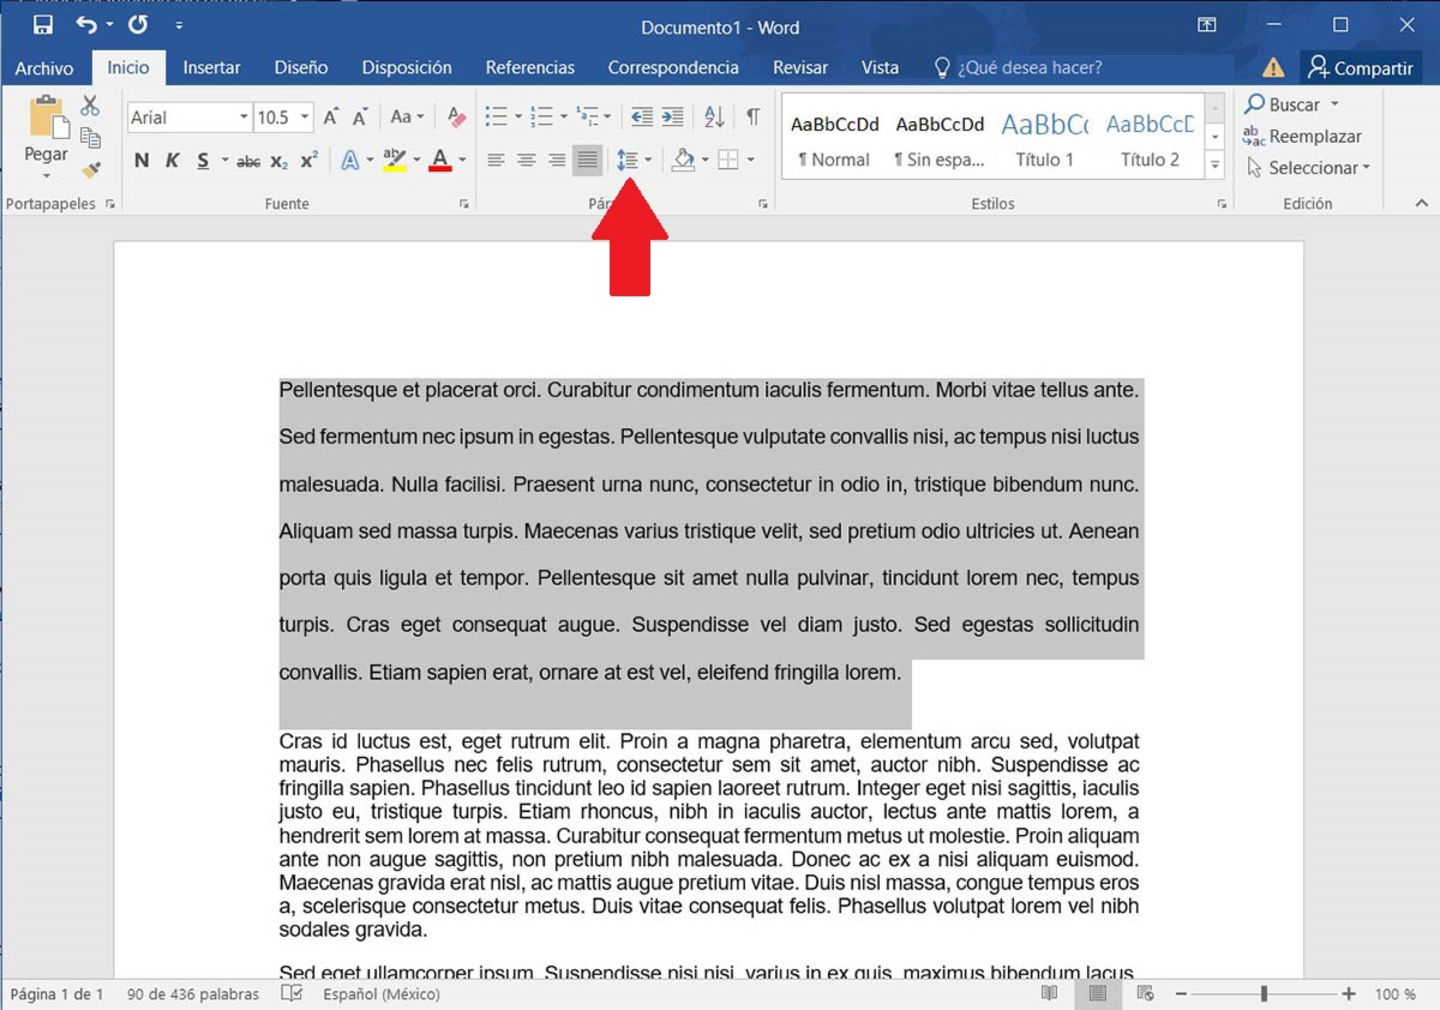
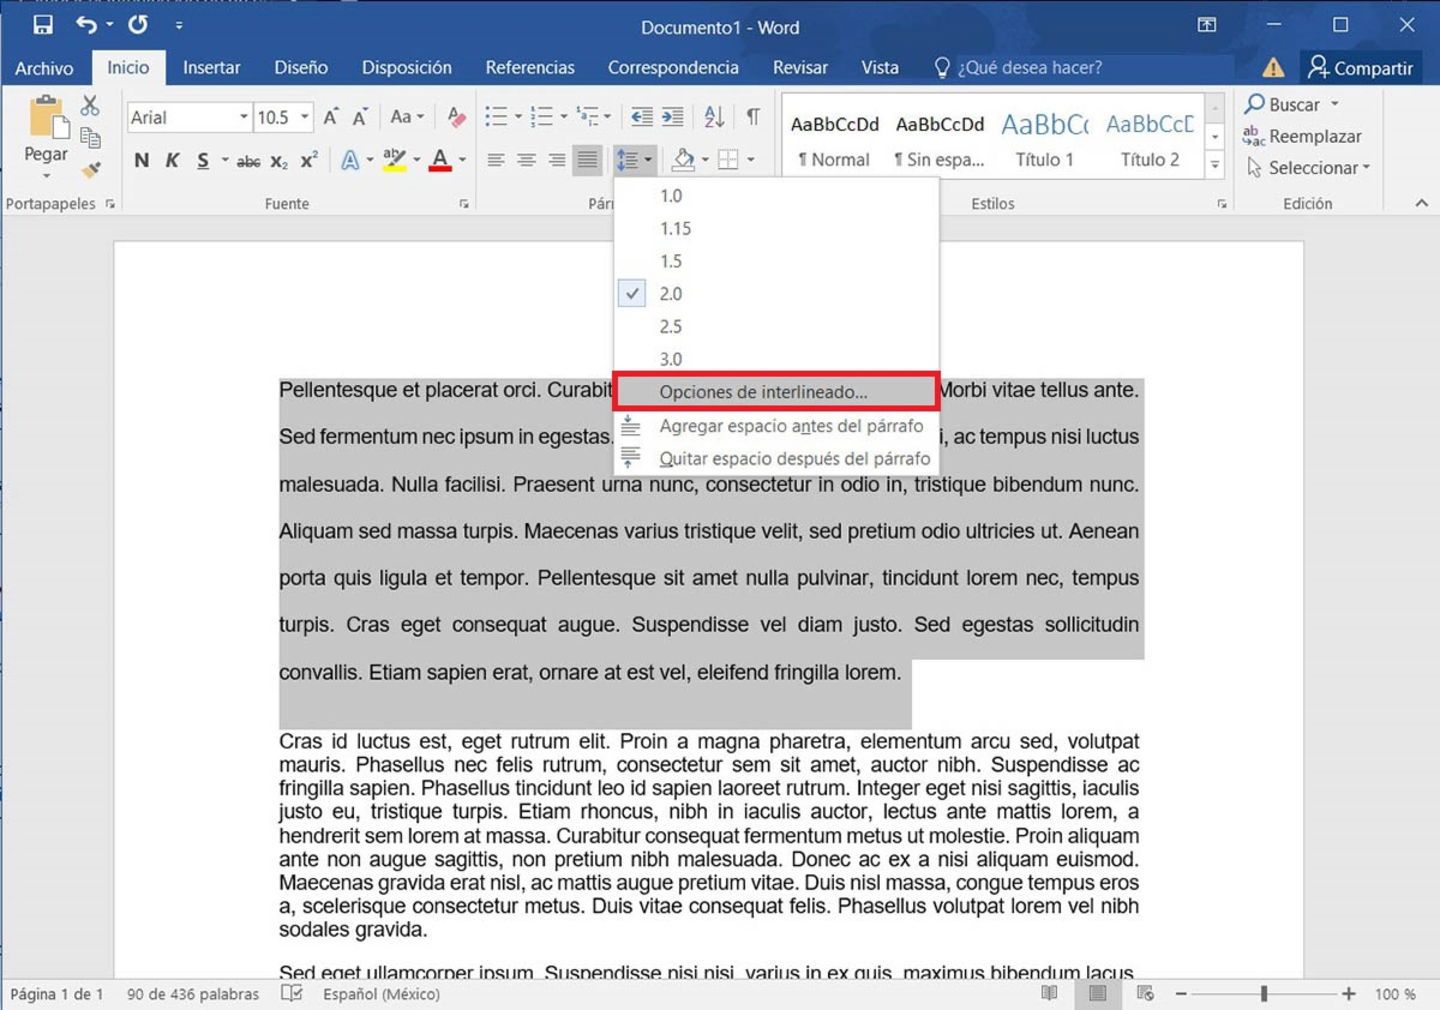
- Once you have selected the paragraph to which you want to change the line spacing, you will have to click on the option that says “Space between lines or paragraphs” , it is located under the “Decrease or Increase indentation” functions .
Word offers predefined line spacing that is usually more than enough.
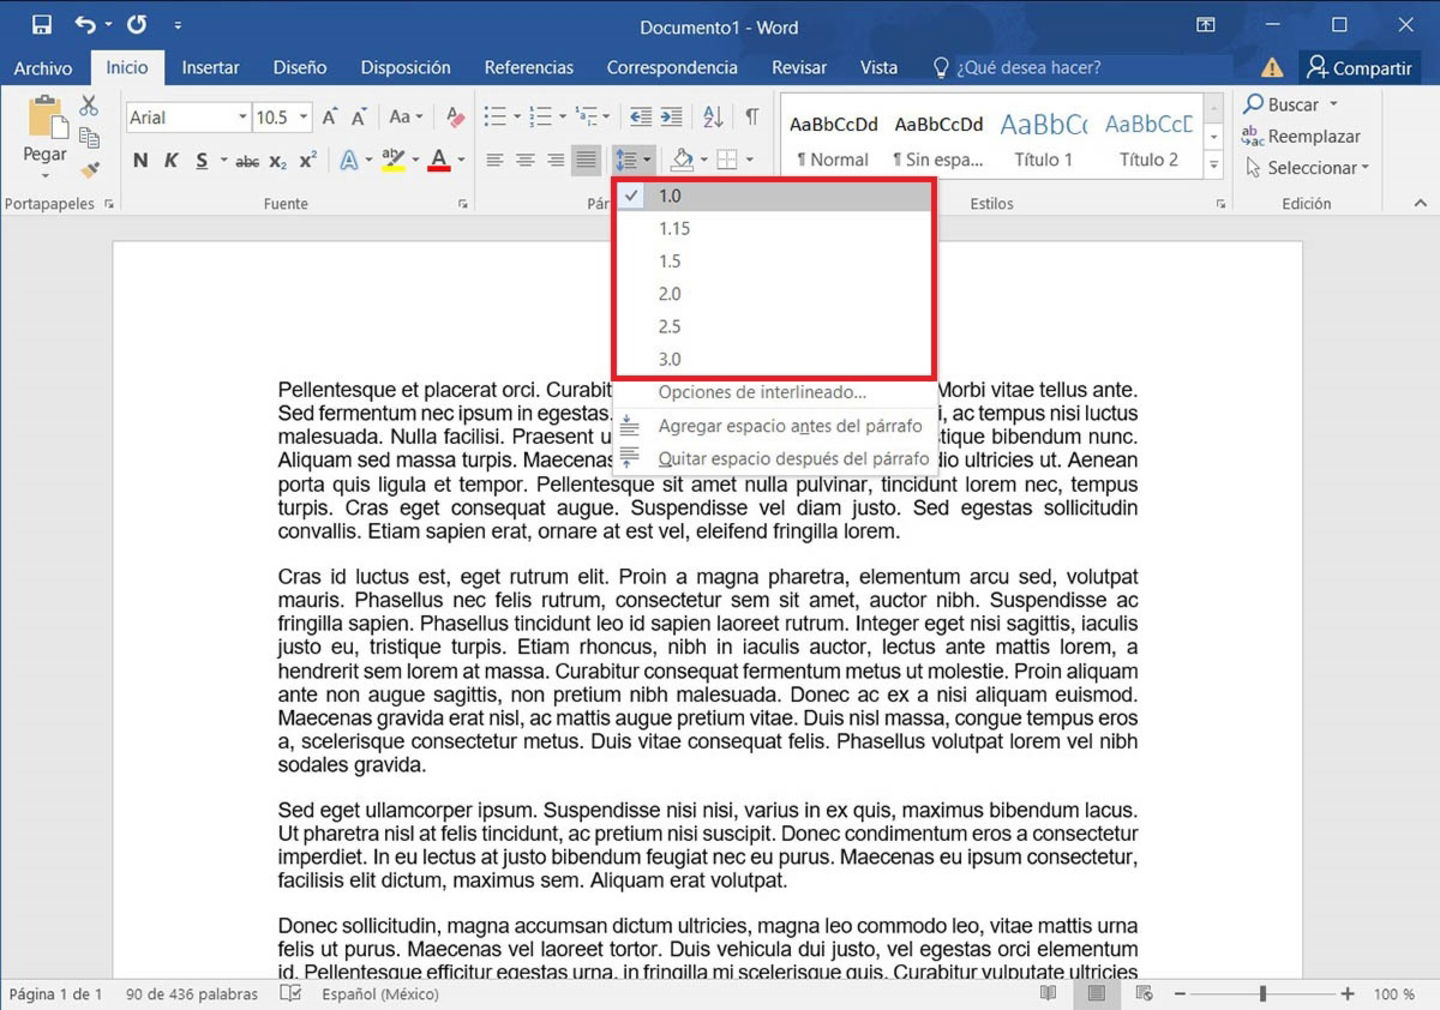
- A small menu will be displayed with various line spacing options . There you will have to select the one you want to apply to the paragraph you have chosen.
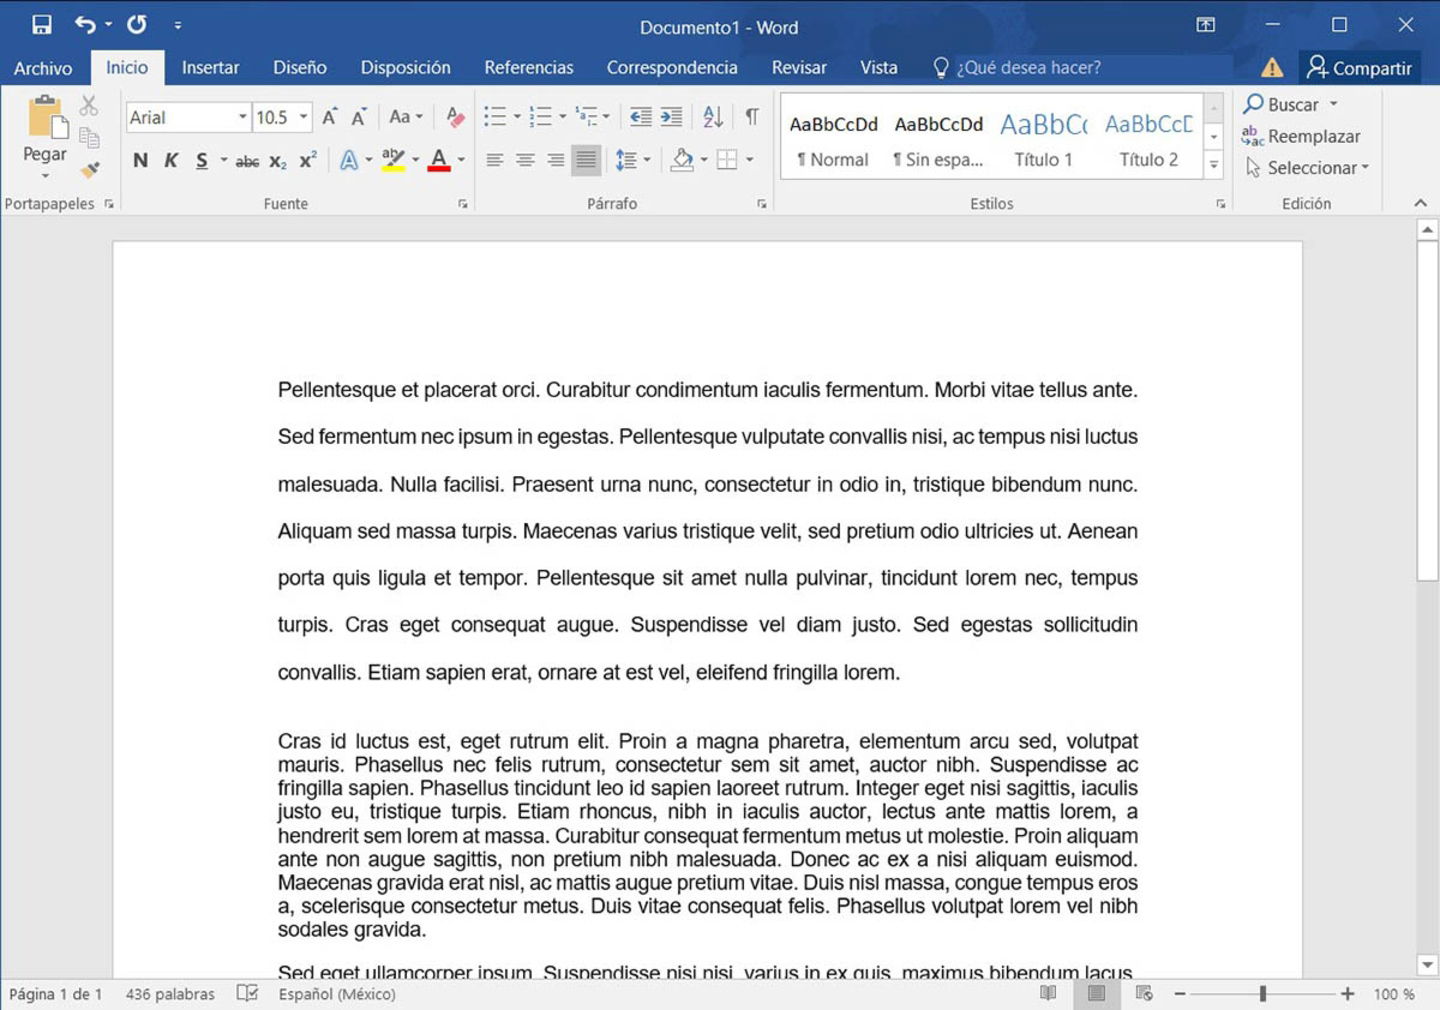
It is recommended to use 1.5 line spacing in Word.
- If you performed all the steps correctly, you will have successfully changed the line spacing.
Word also allows you to customize line spacing.
Although the options Word suggests from the “Line and paragraph spacing” button are more than enough for most situations, there are rare cases where much finer tuning is needed.
If this is your case, we recommend you customize the line spacing to your liking , how? Following all these steps:
Word allows you to change the line spacing of multiple paragraphs at the same time.
- Select the paragraph for which you want to change the line spacing, and then click on the “Spacing between lines or paragraphs” button .
You can modify the line spacing in a personalized way.
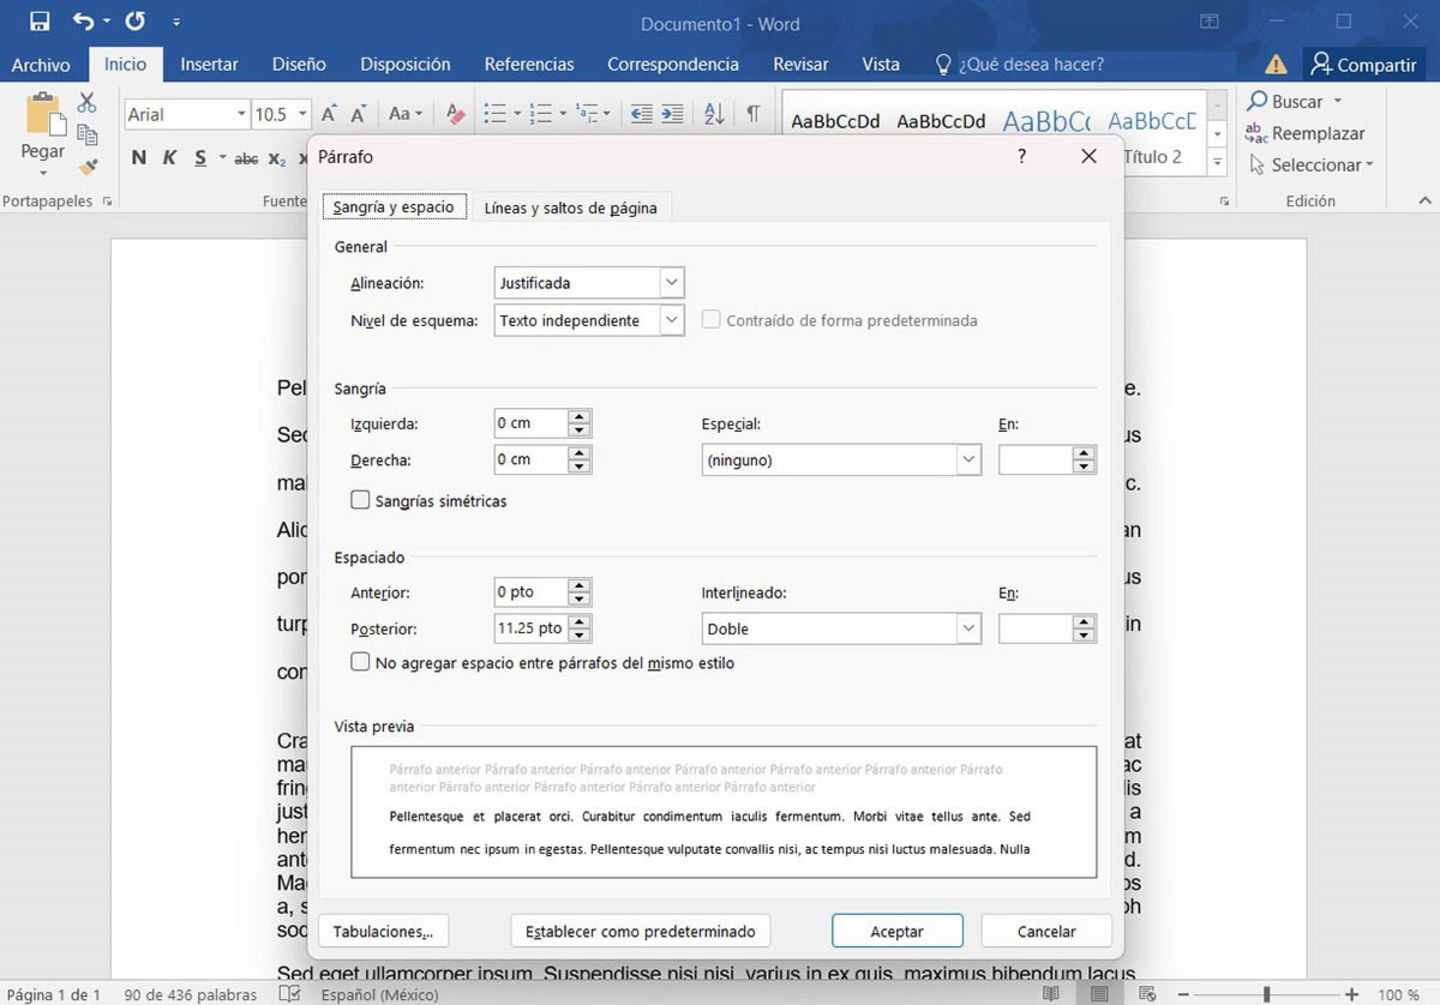
- Therefore, you must enter the section that says “Line spacing options” .
It is recommended to use the predefined options to change the line spacing.
- Word will open a new window from which you can modify the line spacing according to your needs .
Finally, if you usually download templates for Word , and later use them to create files, we advise you to change the line spacing with the predefined options offered by the text editor in question, why? Because customizing the line spacing in templates of this style can create conflicts in the document being edited.


